PRODUCTS
Technology / product information
20hits
Narrow by Industry Category
Narrow by material Category
Narrow by accuracy
Narrow by lot number
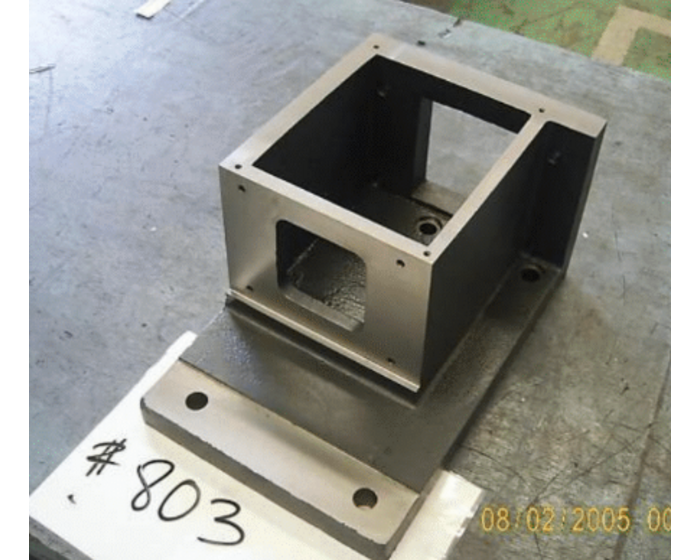
FC250 Cast Iron Bracket with Machining Support
NIDEC OKK MACHINERY (THAILAND) Co., Ltd., a member of the Nidec Group, is based in Samut Prakan, Thailand, and specializes in producing high-quality machine parts using advanced casting technology. Our FC250 cast iron bracket stands out for its exceptional durability and precision machining. It is designed to support a wide range of applications in industrial machinery. With dimensions of 355×230×183 mm, this product is versatile and meets the needs of various industries. ■ Features ・High Durability: Made from FC250 cast iron, it ensures robustness and can withstand heavy loads. ・Precision Machining: Manufactured using Machining Centers and CNC lathes to achieve high dimensional accuracy. ・Customizable: Designed to meet specific customer requirements. ・Versatile Applications: Its flexible size design makes it suitable for a variety of machinery. ■ Specifications ・Material: FC250 cast iron ・Dimensions: 355×230×183 mm ・Manufacturing Method: Precision machining using Machining Centers and CNC lathes ・Durability: Designed to withstand heavy loads and demanding applications NIDEC OKK MACHINERY (THAILAND) Co., Ltd. is committed to meeting the diverse requirements of our customers through expertise in precision machining and casting technology. We strive to deliver enhanced value through tailored solutions. For more information Please download the PDF document or feel free to contact us anytime.
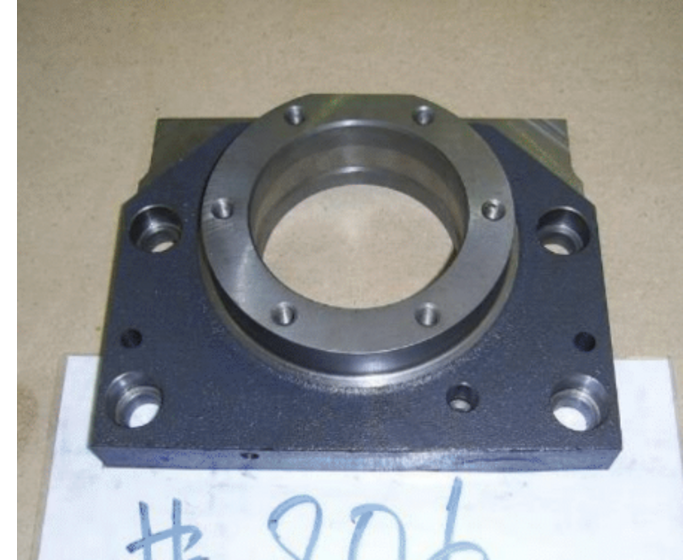
FC250 Cast Iron Housing Ideal for Precision Machining
NIDEC OKK MACHINERY (THAILAND) Co., Ltd., a member of the Nidec Group, is based in Samut Prakan, Thailand, and provides high-quality casting products. Our FC250 cast iron housing combines robust material with advanced precision machining technology, making it suitable for complex shapes and demanding environments. With dimensions of 235×196×54 mm, it meets the requirements of various industries. ■ Features ・Material resistant to friction and pressure: Made from FC250 cast iron, maintaining its shape even after prolonged use. ・International standards compliant: Manufactured under consistent quality control for high reliability. ・High precision capability: Designed to enable precise machining for complex shape requirements. ・Environmental resistance: Delivers stable performance even in harsh operating conditions. ・Low maintenance: Exceptional durability reduces maintenance effort. ■ Specifications ・Material: FC250 cast iron ・Dimensions: 235×196×54 mm ・Manufacturing process: Precision machining under strict quality control ・Characteristics: Friction and pressure resistance, high precision, stability NIDEC OKK MACHINERY (THAILAND) Co., Ltd. combines casting and machining technologies to deliver products with high precision and durability. Customization to meet specific customer needs is also available. For more details, please download the PDF or contact us anytime.
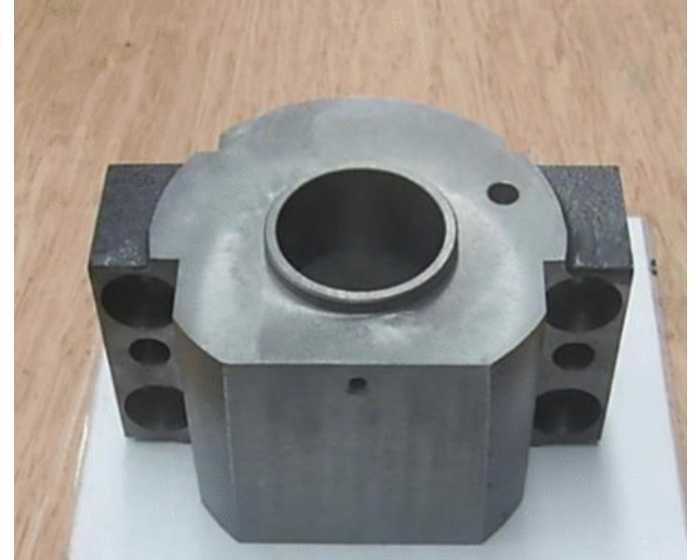
High-Durability FC250 Cast Iron Housing
NIDEC OKK MACHINERY (THAILAND) Co., Ltd., a member of the Nidec Group, is located in Samut Prakan, Thailand, and specializes in offering high-quality casting products. Our FC250 cast iron housing, sized at 170×130×101 mm, is specially designed for industrial machinery requiring heavy load support. With excellent dimensional precision and durability, it is a trusted product for demanding applications. ■ Features ・Exceptional wear resistance: Made from FC250 cast iron, it withstands harsh industrial environments. ・High dimensional accuracy: Guarantees stable performance even for complex designs. ・Enhanced durability: Ensures long-term reliable operation under heavy load conditions. ・Reduced maintenance costs: Maintains performance through continuous use, contributing to cost efficiency. ・Wide temperature adaptability: Operates reliably even under extreme temperature conditions. ■ Specifications ・Material: FC250 cast iron ・Size: 170×130×101 mm ・Characteristics: Wear resistance, robust strength, temperature adaptability ・Manufacturing process: Precision machining under strict quality control NIDEC OKK MACHINERY (THAILAND) Co., Ltd. leverages expertise in casting and high-precision machining technologies to deliver products that exceed customer expectations. We also offer flexible customization to meet specific needs. For more details, please download the PDF or contact us anytime.
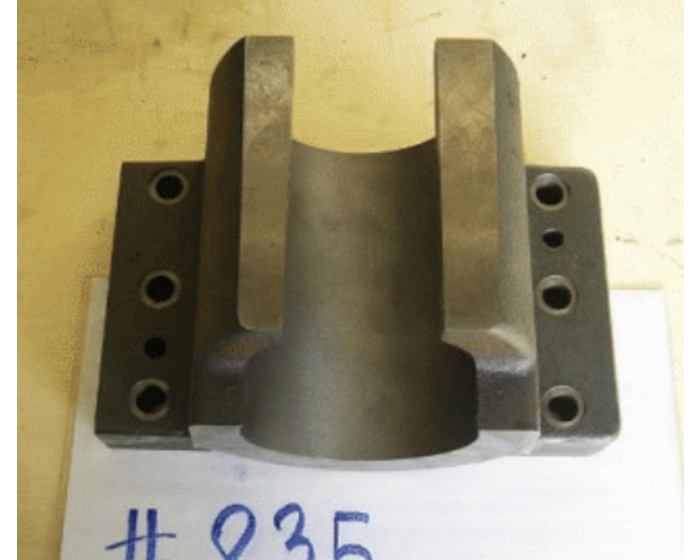
High-Quality FC250 Cast Iron Bracket: Stability and Durability
NIDEC OKK MACHINERY (THAILAND) Co., Ltd., a member of the Nidec Group, is headquartered in Samut Prakan, Thailand, and specializes in precision casting and machining technologies. Our FC250 cast iron bracket, sized at 240×160×125 mm, is renowned for its excellent durability and stable performance. Designed to withstand challenging industrial environments, it is a reliable product you can trust. ■ Features ・Outstanding mechanical properties: Made from FC250 cast iron to maintain performance under high-load conditions. ・High-precision machining: Produced using advanced Machining Centers and CNC lathes for exceptional accuracy. ・Strict quality control: Utilizes precision inspection equipment to ensure product quality. ・Flexible customization: Tailored designs to meet specific applications and customer requirements. ・Stable performance: Retains shape and function over extended use, reducing maintenance frequency. ■ Specifications ・Material: FC250 cast iron ・Dimensions: 240×160×125 mm ・Characteristics: Load resistance, dimensional stability, support for high-precision machining ・Manufacturing process: Machining with Machining Centers and CNC lathes NIDEC OKK MACHINERY (THAILAND) Co., Ltd. is dedicated to delivering highly precise and durable products to our customers. We provide flexible solutions to meet the diverse requirements of our clients. For more details, please download the PDF or contact us anytime.
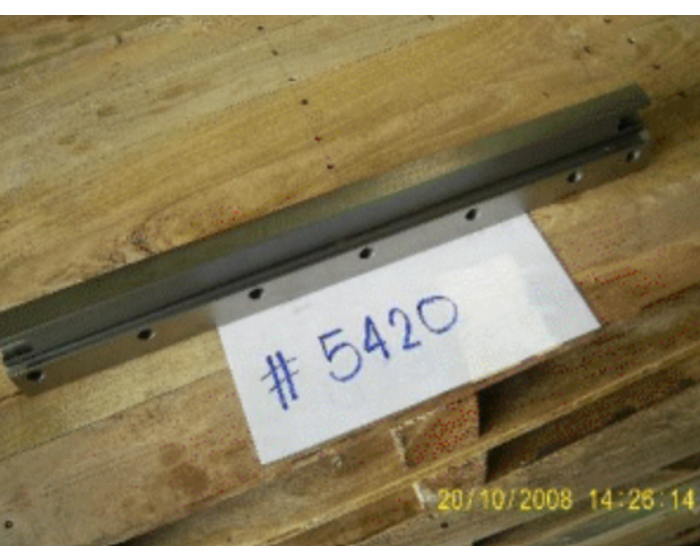
FC250 Cast Iron Jib Support: Ensuring Precision and Strength for Machine Components
NIDEC OKK MACHINERY (THAILAND) Co., Ltd., a member of the Nidec Group, is based in Samut Prakan, Thailand, specializing in manufacturing high-quality components for industrial machinery. Our FC250 cast iron jib support, sized at 600×75×35 mm, is designed as a crucial component to enhance the precision of industrial machinery. Combining strength and dimensional accuracy, it is a reliable product for demanding applications. ■ Features ・High-precision design: Made from FC250 cast iron to achieve excellent dimensional accuracy. ・Durability and strength: Retains shape and ensures stable performance even under harsh operating conditions. ・Versatile sizing: With dimensions of 600×75×35 mm, it is adaptable to various types of machinery. ・Ease of installation: Designed for simple assembly, supporting efficient operation of machine components. ・Strict quality control: Manufactured under consistent quality management to guarantee reliability. ■ Specifications ・Material: FC250 cast iron ・Dimensions: 600×75×35 mm ・Characteristics: High precision, durability, versatility ・Manufacturing process: Advanced machining techniques under strict quality control NIDEC OKK MACHINERY (THAILAND) Co., Ltd. combines casting and machining technologies to deliver high-quality products tailored to customer needs. The FC250 jib support is a trusted solution to enhance the performance of your industrial machinery. For more details, please download the PDF or contact us anytime.
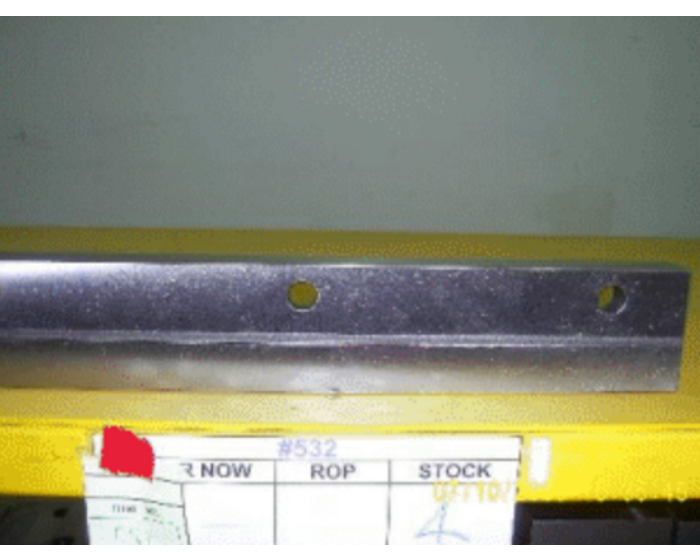
Gib Support Components with Precision Casting Technology
NIDEC OKK MACHINERY (THAILAND) Co., Ltd., a member of the Nidec Group, is based in Samut Prakan, Thailand, and offers high-quality casting products. Our Gib Support components, made from FC250 cast iron, are characterized by exceptional durability and precision machining. These components play a crucial role in supporting the stable operation of industrial machinery. ■ Features: ・High durability: Made from FC250 cast iron, capable of withstanding harsh operating conditions. ・Precision design: High dimensional accuracy minimizes assembly errors. ・Excellent surface finish: Provides long-term resistance to wear and corrosion. ・Enhanced reliability: Ensures stable performance through strict quality control processes. ■ Specifications: ・Material: FC250 cast iron ・Dimensions: Width 380 mm × Height 63 mm × Thickness 25 mm ・Surface finish: Durable coating, meeting stringent quality standards NIDEC OKK MACHINERY (THAILAND) Co., Ltd. utilizes precision casting technology and advanced quality management to deliver high-quality products tailored to customer needs. Our Gib Support components are a reliable choice to enhance the performance of industrial machinery. For more details, please download the PDF or contact us anytime.
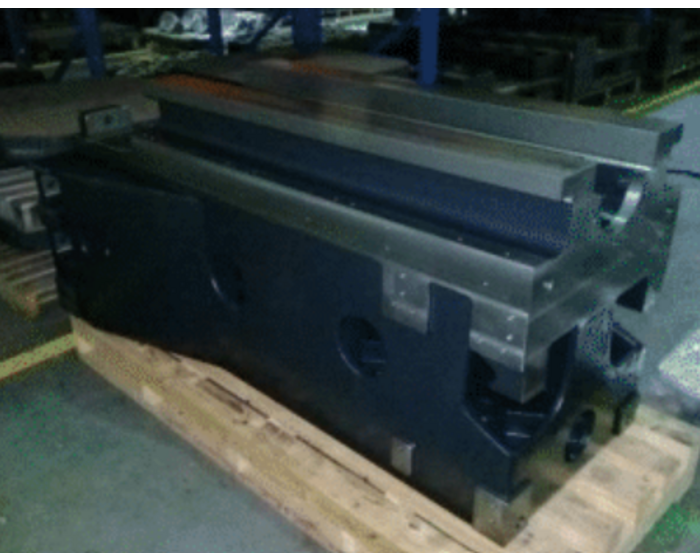
Column: A New Standard for Heavy-Duty FC250 Cast Components
NIDEC OKK MACHINERY (THAILAND) Co., Ltd., a member of the Nidec Group, is based in Samut Prakan, Thailand, and specializes in high-quality casting technology. Our large column component (dimensions 1680×860×800 mm) is made from FC250 cast iron, designed for exceptional durability and precision. It is a reliable product essential for heavy industrial machinery, construction equipment, and other large industrial systems. ■ Features ・High durability: Made from FC250 material to withstand harsh environments and heavy load conditions. ・Precision design: Advanced manufacturing techniques ensure detailed finishing and stable performance. ・High-quality casting process: Meets strict industrial standards, delivering quality and reliability. ・Customizable: Designed to meet specific customer specifications, ensuring compatibility with a wide range of machinery. ■Specifications: ・Material: FC250 cast iron ・Dimensions: Length 1680 mm × Width 860 mm × Height 800 mm ・Applications: Heavy industrial machinery, construction equipment, large equipment components NIDEC OKK MACHINERY (THAILAND) Co., Ltd. leverages precision machining technology and rigorous quality control to deliver high-performance casting components tailored to diverse customer needs. As a reliable solution for large-scale machinery, our column components contribute to the success of your business operations. For more details, please download the PDF or feel free to contact us.
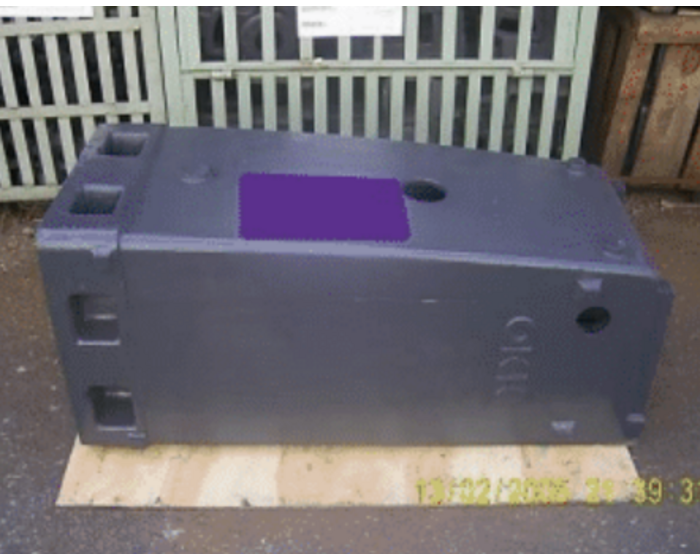
Manufacturing Columns for Machine Components: FC250 Casting Process
NIDEC OKK MACHINERY (THAILAND) Co., Ltd., a member of the Nidec Group, is based in Samut Prakan, Thailand, and specializes in providing high-quality casting components for industrial and construction machinery. Our column components, manufactured using the FC250 casting process (dimensions 1250×555×540 mm), are designed to deliver precision and durability, meeting stringent customer specifications. Produced under consistent quality control, these components ensure reliability for various industrial applications. ■Features: ・ High-density and uniform texture: The FC250 casting process ensures dense and uniform casting quality. ・ Precision dimensional control: Minimizes issues during assembly and installation with exceptional dimensional accuracy. ・ Superior durability and strength: Outstanding mechanical properties make it suitable for harsh environments. ・ Flexible surface treatment options: High-quality finish that supports various post-processing needs. ■Specifications: ・ Material: FC250 ・ External dimensions: Length 1250mm x Width 555mm x Height 540mm ・ Characteristics: High resistance to heat and wear ・Applications: General industrial machinery, construction equipment components NIDEC OKK MACHINERY (THAILAND) Co., Ltd. supports the enhancement of industrial machinery performance with high-quality casting components produced using the FC250 process. We also offer flexible customization options to meet customer requirements, delivering robust products that ensure reliability and contribute to the success of your business. For more information, please download the PDF or feel free to contact us.
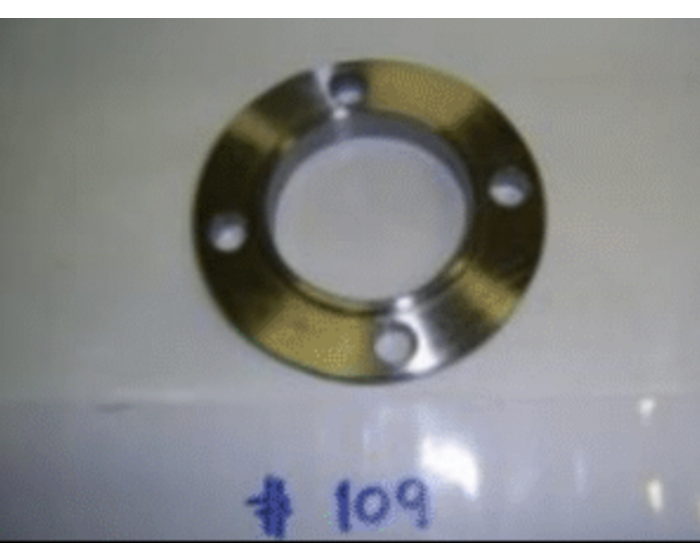
Precision-Finished S45C Steel Bearing Fit
NIDEC OKK MACHINERY (THAILAND) Co., Ltd., a member of the Nidec Group, is based in Samut Prakan, Thailand, and specializes in manufacturing high-quality components for industrial machinery. Our S45C steel bearing fit is designed to maximize reliability and performance in industrial machinery through precision finishing. With a diameter of 95 mm × thickness of 17 mm, it is capable of withstanding demanding operating conditions. ■ Features ・High durability: Made from S45C steel to maintain shape and performance over an extended period. ・Precision finishing: High-accuracy machining ensures smooth assembly. ・Supports high-load conditions: Delivers reliable performance even under harsh operating conditions. ・Consistent quality control: Manufactured under strict processes, meeting industry standards. ■Specifications: ・Material: Steel S45C ・Dimensions: ⏀95 mm × 17 mm ・Characteristics: Adaptable to high-load environments, excellent durability NIDEC OKK MACHINERY (THAILAND) Co., Ltd. delivers products that enhance the reliability and efficiency of industrial machinery through precision machining and rigorous quality control. Our S45C steel bearing fit is the ideal solution for customers seeking durability and high performance. For more information, please download the PDF or feel free to contact us.
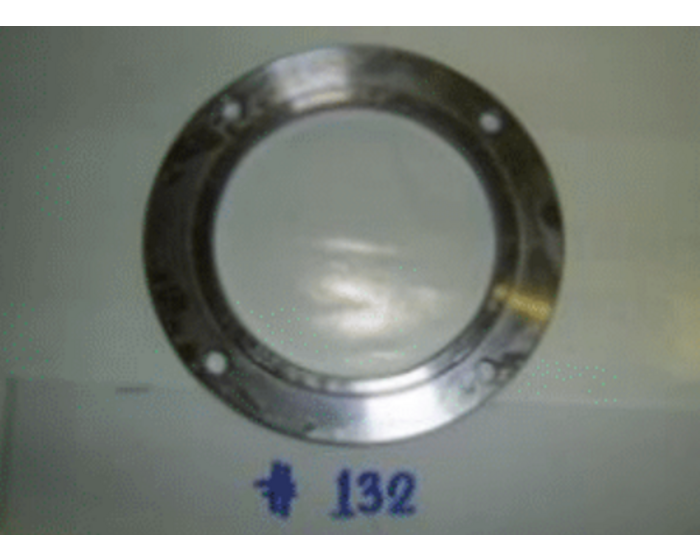
STKM16 Steel Bearing Fit: Machine Components
NIDEC OKK MACHINERY (THAILAND) Co., Ltd., a member of the Nidec Group, is headquartered in Samut Prakan, Thailand, and provides high-quality components for industrial machinery. Our STKM16 steel bearing fit, with dimensions of ⏀118 mm × thickness 8 mm, is designed with precision dimensions and excellent physical properties. Combining high durability and versatility, it enhances the performance of various machinery types. ■ Features ・Excellent physical properties: Made from STKM16 steel for superior load resistance and rigidity. ・High-precision machining: Ensures uniform quality and dimensional accuracy for smooth assembly. ・Outstanding durability: Resistant to wear and corrosion for extended use. ・High versatility: Flexible design suitable for a wide range of machinery applications. ■ Specifications ・Material: STKM16 steel ・Dimensions: ⏀118mm × 8mm ・Characteristics: Wear resistance, dimensional stability, versatility NIDEC OKK MACHINERY (THAILAND) Co., Ltd. produces high-quality products using STKM16 steel under strict quality control. We deliver reliable precision machine components to meet the diverse needs of our customers. For more details, please download the PDF or feel free to contact us.
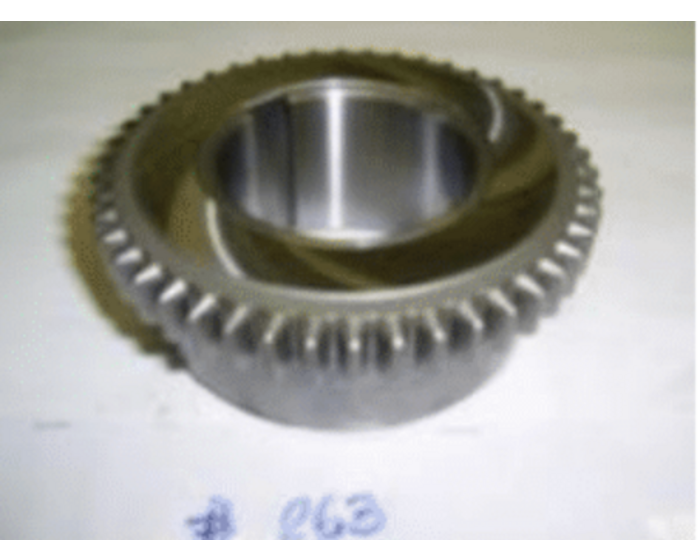
Durability-Enhanced Design for SCM418 Steel Gears
NIDEC OKK MACHINERY (THAILAND) Co., Ltd., a member of the Nidec Group, is based in Samut Prakan, Thailand, and provides high-quality machining for industrial machinery and automotive parts. Our SCM418 steel gear, with a diameter of 122 mm and thickness of 53 mm, is designed for durability and precision. Manufactured using advanced machining technology and strict quality control, it ensures stable performance under high-load conditions. ■ Features ・Excellent fatigue and wear resistance: Made from SCM418 steel to maintain performance over extended periods. ・High-precision gear cutting: Ensures optimal meshing and smooth, quiet operation. ・Durability-enhanced design: Minimizes deformation and wear under high-load conditions, ensuring stable performance. ・Reliable quality: Meets rigorous manufacturing standards for long-term use. ■ Specifications ・Material: SCM418 steel ・Dimensions: Diameter 122 mm × Thickness 53 mm ・Characteristics: High-load resistance, wear resistance, dimensional stability NIDEC OKK MACHINERY (THAILAND) Co., Ltd. meets your stringent requirements with high-quality SCM418 steel gears. Using advanced machining technology and reliable materials, we deliver optimal performance for industrial machinery and automotive components. For more information, please download the PDF or feel free to contact us.
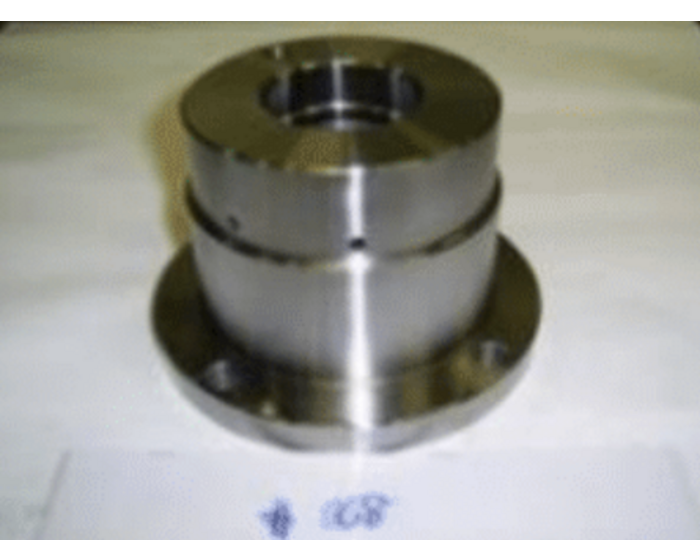
Durability-Enhanced Design for SCM418 Steel Housing: Machine Components
NIDEC OKK MACHINERY (THAILAND) Co., Ltd., a member of the Nidec Group, is headquartered in Samut Prakan, Thailand, and specializes in manufacturing high-quality casting components for industrial machinery. Our SCM418 steel housing, with a diameter of 157 mm and a height of 107 mm, combines exceptional precision and durability. It is a critical component designed to protect the core of mechanical systems, ensuring stable performance even under high-load conditions and demanding environments. ■ Features ・Excellent strength and wear resistance: Made from SCM418 steel for long-term reliability in challenging conditions. ・Precision dimensional design: Advanced manufacturing techniques deliver accurate dimensions and superior quality. ・High durability: Maintains performance in harsh environments, offering trusted reliability. ・Wide adaptability: Designed to suit motors, pumps, and a variety of other equipment. ■ Specifications ・Material: SCM418 steel ・Dimensions: Diameter 157 mm × Height 107 mm ・Characteristics: Wear resistance, dimensional stability, support for high-load environments NIDEC OKK MACHINERY (THAILAND) Co., Ltd. produces SCM418 steel housing using the latest technology and rigorous quality control. This product is an optimal choice for improving the reliability and efficiency of your industrial equipment. For more information, please download the PDF or feel free to contact us.
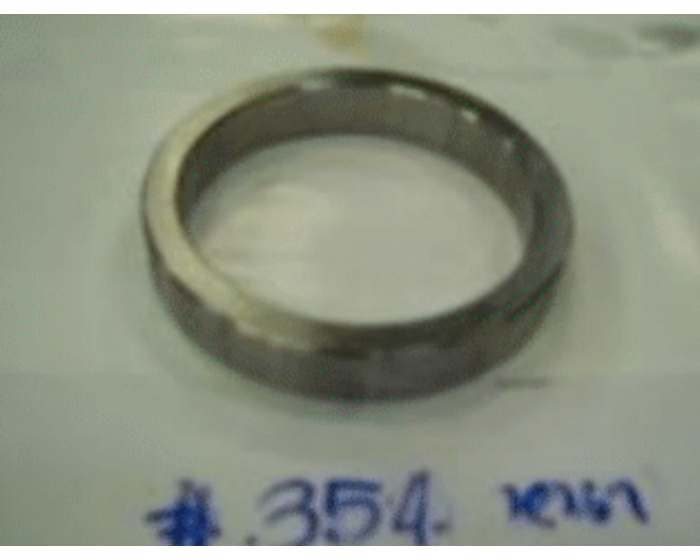
Collar: Machine Component Made of STKM16 Steel
NIDEC OKK MACHINERY (THAILAND) Co., Ltd., a member of the Nidec Group, is based in Samut Prakan, Thailand, and specializes in providing high-quality machine components. Our STKM16 steel collar, with dimensions of ⏀80 mm × thickness 14 mm, is designed as a critical component for precise positioning and balanced load distribution in machinery. With excellent mechanical properties and durability, it meets the diverse needs of the industrial machinery sector. ■ Features ・High-quality material: Made from STKM16 steel, ensuring superior strength and durability. ・Precision machining: Manufactured with advanced technology to guarantee accurate dimensions and reliable performance. ・Long-term usability: Resistant to wear and deformation, providing stable operation. ・Rigorous quality control: Produced under strict standards, earning high industry recognition. ■ Specifications ・Material: STKM16 steel ・Dimensions: Diameter 80 mm × Thickness 14 mm ・Characteristics: High precision, wear resistance, long-lasting design NIDEC OKK MACHINERY (THAILAND) Co., Ltd. leverages advanced technology and strict quality control processes to manufacture STKM16 steel collars. This product is the optimal choice for the industrial machinery field, where precision and reliability are essential. For more details, please download the PDF or feel free to contact us.
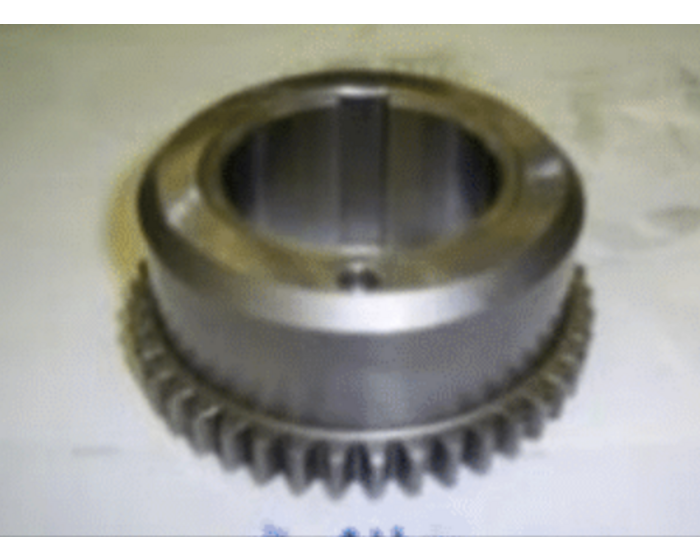
Custom High-Performance SCM418 Steel Gear Design: Machine Components
NIDEC OKK MACHINERY (THAILAND) Co., Ltd., a member of the Nidec Group, is based in Samut Prakan, Thailand, and specializes in manufacturing high-quality machine components. Our SCM418 steel gear, with a diameter of 115 mm and a thickness of 53 mm, delivers exceptional durability and precision, catering to diverse applications in the automotive industry, precision instruments, and heavy industrial equipment. Designed to maintain reliable performance under high-load conditions, it supports long-term usage with outstanding efficiency. ■ Features ・Exceptional durability: Made from SCM418 steel, ensuring stable operation even in demanding environments. ・High-precision design: Manufactured with advanced machining techniques for smooth meshing and seamless operation. ・High-load adaptability: Engineered for robust performance, suitable for a wide range of applications. ・Reliable quality delivery: Produced under stringent quality control systems to ensure consistent high standards. ■ Specifications ・Material: SCM418 steel ・Dimensions: Diameter 115 mm × Thickness 53 mm ・Applications: Automotive industry, precision instruments, heavy industrial equipment NIDEC OKK MACHINERY (THAILAND) Co., Ltd. enhances machine efficiency and long-term reliability with our high-performance gear products. Utilizing the latest technology and rigorous quality standards, we deliver custom designs tailored to meet diverse customer needs. For more details, please download the PDF or feel free to contact us.
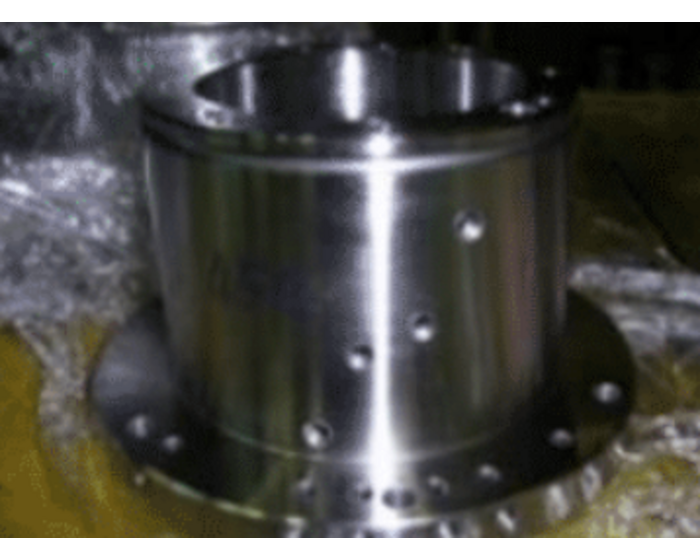
Precision-Designed S45C Steel Housing
NIDEC OKK MACHINERY (THAILAND) Co., Ltd., a member of the Nidec Group, is based in Samut Prakan, Thailand, and specializes in providing high-quality components for industrial machinery. Our S45C steel housing, with dimensions of ⏀209 mm × height 170 mm, features excellent mechanical properties and precise machining. This component plays a critical role in machinery, ensuring long-term stable performance even under demanding conditions. ■ Features ・Exceptional strength and machinability: Made from S45C steel, delivering reliable performance even in challenging environments. ・Precise dimensions and superior finish: Advanced machining technology ensures high-precision surface finishes and dimensional accuracy. ・Outstanding durability: Designed to withstand harsh operating conditions for long-term use. ・Versatile design: Suitable for various industrial machinery housing applications. ■ Specifications ・Material: S45C steel ・Dimensions: Diameter 209 mm × Height 170 mm ・Characteristics: High-precision machining, wear resistance, superior durability NIDEC OKK MACHINERY (THAILAND) Co., Ltd. manufactures S45C steel housing using advanced technology and strict quality control processes. This product is an ideal choice for customers seeking high durability and precision. With reliable performance, it enhances the efficiency and longevity of industrial machinery. For more details, please download the PDF or feel free to contact us.
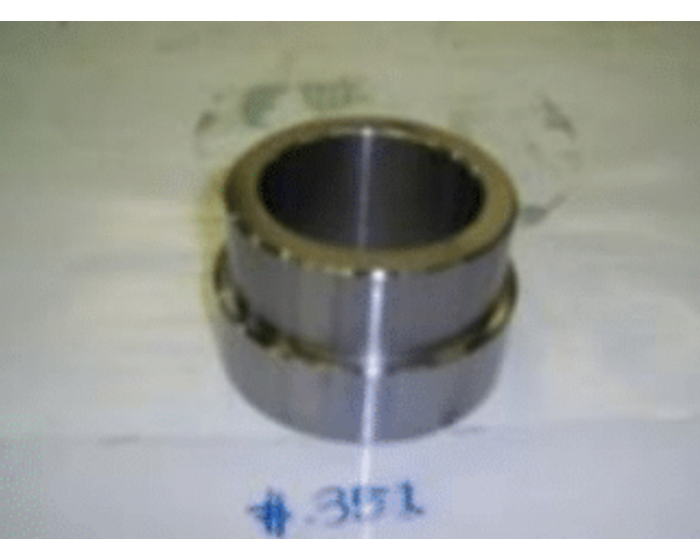
High-Precision STKM16 Steel Machine Collar Components
NIDEC OKK MACHINERY (THAILAND) Co., Ltd., a member of the Nidec Group, is headquartered in Samut Prakan, Thailand, and specializes in providing high-quality industrial machinery components. Our STKM16 steel machine collar, designed with dimensions of ⏀89 mm × height 60 mm, offers exceptional precision and durability. It delivers superior performance for shaft positioning and load distribution, contributing to enhanced industrial machinery efficiency. ■ Features ・High strength and durability: Made from STKM16 steel, ensuring long-term reliability. ・Precision dimensional control: High-accuracy design with ⏀89 mm × height 60 mm, optimizing machinery efficiency. ・Smooth surface finish: Precision machining for easy installation and maintenance. ・Outstanding performance: Designed for shaft positioning and load distribution, ensuring stable operation. ■ Specifications ・Material: STKM16 steel ・External dimensions: Diameter 89 mm × Height 60 mm ・Characteristics: High-precision machining, durability, ease of installation NIDEC OKK MACHINERY (THAILAND) Co., Ltd. manufactures STKM16 steel machine collars using advanced machining technology and strict quality control. This product is designed to improve the precision and efficiency of industrial machinery, meeting the diverse needs of our customers. For more information, please download the PDF or feel free to contact us.
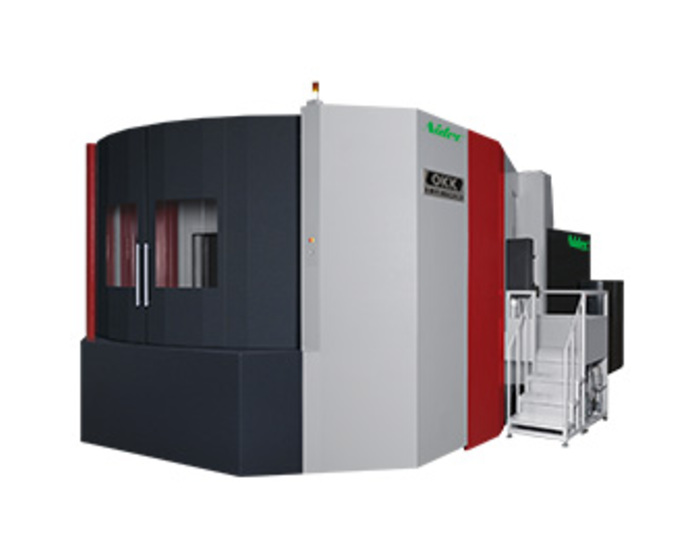
Horizontal Machining Center HM1600: Enhancing Efficiency in Large Component Processing
NIDEC OKK MACHINERY (THAILAND) Co., Ltd., a member of the Nidec Group, is based in Samut Prakan, Thailand, and provides high-quality component manufacturing with advanced production equipment. Our horizontal machining center HM1600 is designed to deliver high-precision and efficient machining of large components. It is ideal for producing complex parts such as gearboxes, large molds, and diesel engine blocks, where precision and advanced processing are critical. ■ Features ・High rigidity and machining precision: The HM1600 features a robust structure and advanced control technology, enabling accurate machining of large components. ・Fast and efficient machining: Superior cutting performance reduces machining time and enhances productivity. ・Improved operability: User-friendly design ensures an efficient working environment. ・Stable quality for extended operation: Excellent durability maintains consistent machining quality during prolonged use. ■ Specifications ・Supported components: Gearboxes, large molds, diesel engine blocks, and more ・Features: Wide machining range and high power for processing various materials and shapes ・Applications: Automotive industry, aerospace industry, heavy industry The horizontal machining center HM1600 from NIDEC OKK MACHINERY (THAILAND) Co., Ltd. sets a new standard for precision machining and brings innovation to manufacturing operations. It is the optimal solution for overcoming challenges in large component processing. For more details, please download the PDF or feel free to contact us.
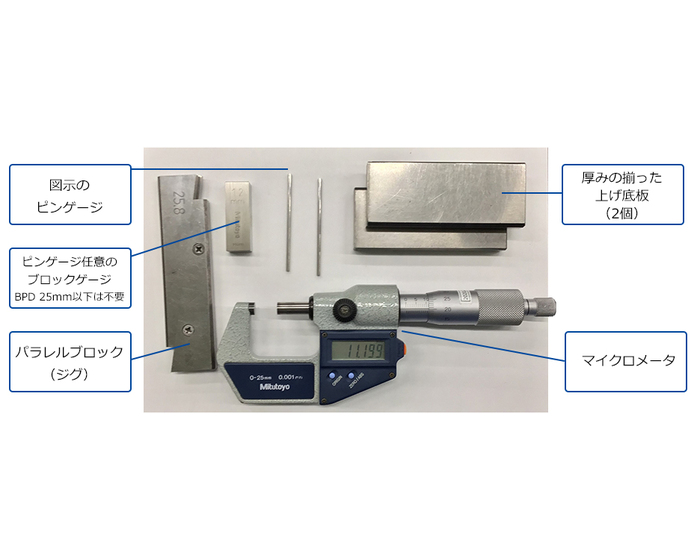
BPD Measurement Method for Tooth Thickness in Broaching Work: ❶ Preparation
NIDEC OKK MACHINERY (THAILAND) Co., Ltd., a member of the Nidec Group, is headquartered in Samut Prakan, Thailand, and specializes in delivering products utilizing precision machining technology. In broaching processes, which involve precise internal shaping of splines and gears, verifying fit accuracy is critical for quality improvement. The BPD (Between Pin Diameter) measurement method, which uses pins to measure tooth thickness, is an effective technique for accurately evaluating the actual fitting condition. ■ Features ・Measurement using pins: Accurately measures the minimum tooth thickness in the lead direction, improving fitting accuracy. ・Enhanced reliability: Ideal for evaluating the precision of broached spline holes, ensuring long-term reliability of products. ・Simple measurement method: Using pins instead of balls allows for more efficient measurement operations. ■ Specifications ・Equipment used: Standard 25 mm parallel block and measurement pins ・Calculation example: For BPD of 35 mm using a φ1.5 mm pin Formula: 35 (BP) - 25 (parallel block) + 2 = 12 mm ・Measurement accuracy: High-parallelism block gauges combined with measurement pins ensure high precision. ■ Application Examples The BPD measurement method improves fitting accuracy for broached products, enabling the supply of high-quality splines and gears to the market. This precise measurement technique significantly contributes to improving the reliability of customer products. NIDEC OKK MACHINERY (THAILAND) Co., Ltd. helps enhance manufacturing quality through high-precision measurement technologies. For more details, please download the PDF or feel free to contact us.
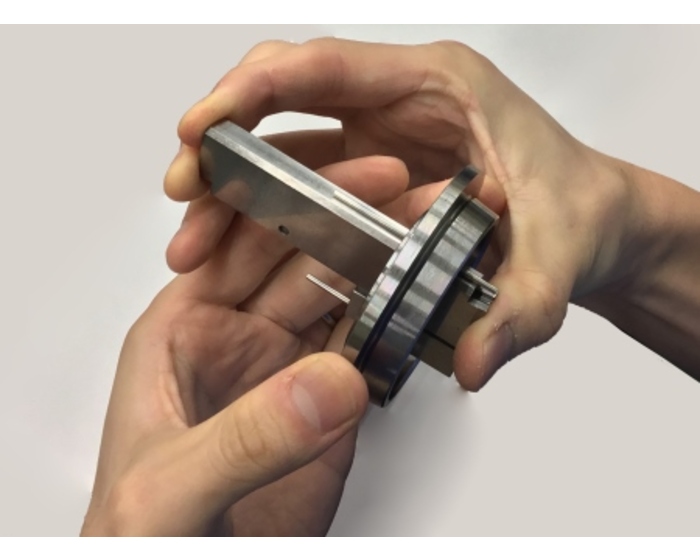
BPD Measurement Method for Tooth Thickness in Broaching Work: ❷ Applying Load
NIDEC OKK MACHINERY (THAILAND) Co., Ltd., a member of the Nidec Group, is based in Samut Prakan, Thailand, and specializes in delivering high-quality products using precision machining technology. The BPD (Between Pin Diameter) measurement method, used to evaluate fit accuracy in spline machining, detects subtle errors that traditional BBD (Between Ball Diameter) methods may miss. This article provides a detailed explanation of the load application process in BPD measurement. ■ Features ・Simulating actual fit conditions: Ensuring the pin contacts the minimum tooth thickness position, enabling measurements close to real fitting conditions. ・Improved accuracy: The load application process enhances repeatability and reliability of measurement results. ・Enhanced quality control: Improves fit accuracy in broached spline holes, ensuring the reliability of the final product. ■ Specifications ・Load application procedure: Firmly grip the parallel block by hand to keep the pin gauge stable and prevent it from falling. Ensure the pin remains steady even when the block is slightly moved. Apply moderate pressure to improve repeatability and enhance the reliability of the measurement results. ・Recommended equipment: Use high-quality parallel blocks and pin gauges. ■ Application Examples This load application process enhances the fit accuracy of broached spline workpieces by eliminating subtle errors during measurement. It allows for strict quality control, ensuring the delivery of reliable products to the market. NIDEC OKK MACHINERY (THAILAND) Co., Ltd. is committed to advancing BPD measurement technology to improve precision machining processes and deliver high-quality products to our customers. For more details, please download the PDF or feel free to contact us.
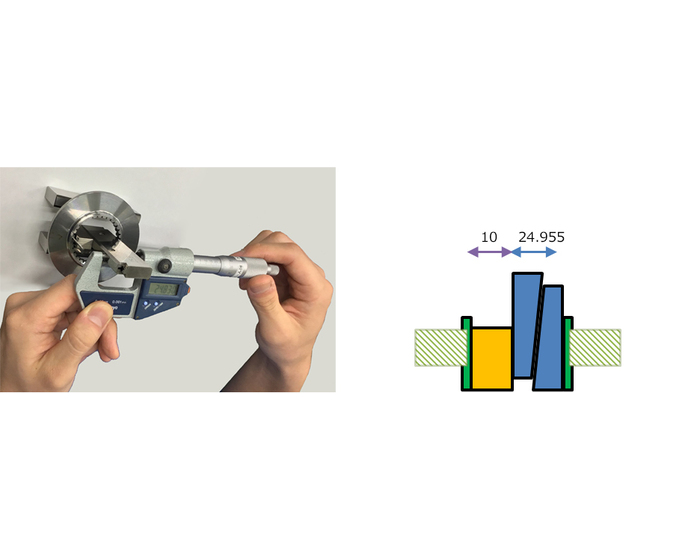
BPD Measurement Method for Tooth Thickness in Broaching Work: ❸ Measurement
NIDEC OKK MACHINERY (THAILAND) Co., Ltd., a member of the Nidec Group, is based in Samut Prakan, Thailand, and provides high-quality manufacturing technology. The BPD (Between Pin Diameter) measurement method, used to evaluate fit accuracy in spline machining, is characterized by its simplicity and flexibility. Even with low-cost measuring tools, it delivers highly accurate results. Proper BPD measurement significantly enhances product quality and reliability. ■ Features ・Convenience and flexibility: Using notched pins allows for compatibility with various spline sizes. ・High-accuracy evaluation: While precision depends on operator skill, formulas ensure reliable measurement results. ・Improved repeatability: Reduces variability across multiple operators, ensuring consistent measurements. ・Cost-effectiveness: Provides high-accuracy evaluations without requiring specialized measuring instruments. ■ Specifications ・Measurement method: Measure the width of the parallel block (e.g., 24.955 mm). Calculate the BPD using a formula (e.g., BPD = 24.955 + 10.0 = 34.955 mm). ・Equipment used: Parallel block, notched pins, gauge tools ・Precautions: For smaller BPD values, using parallel blocks may be limited; choose appropriate alternative methods. ■ Improving Measurement Accuracy Conducting measurements with multiple operators minimizes individual errors, enhancing the reliability of results. Additionally, improving technician skills can further boost operational efficiency. The BPD measurement method combines simplicity and precision, playing a vital role in quality control for spline machining. By utilizing this technique, product reliability is ensured, leading to higher customer satisfaction. For more details, please download the PDF or feel free to contact us.
CONTACT
